How to Build a Homemade Smoker From Scratch

If you don’t like smoked foods, then you are probably an alien from another planet who hasn’t had the chance to try them yet. And I don’t mean just smoked meats, just about anything can be smoked. Smoked cheeses, smoked vegetables, smoked fish, smoked shrimp, and one of the craziest most wonderful dishes that I have ever tasted was smoked macaroni and cheese! (I’m not sure but probably many of the foods from your planet could also be smoked?) So today, we are going to build our own homemade smoker, and show you exactly how you can too!

To build a smoker you only need a few key things:
A box
A heat source
A vent
A wood chip pan
A drip pan
Racks
A thermometer
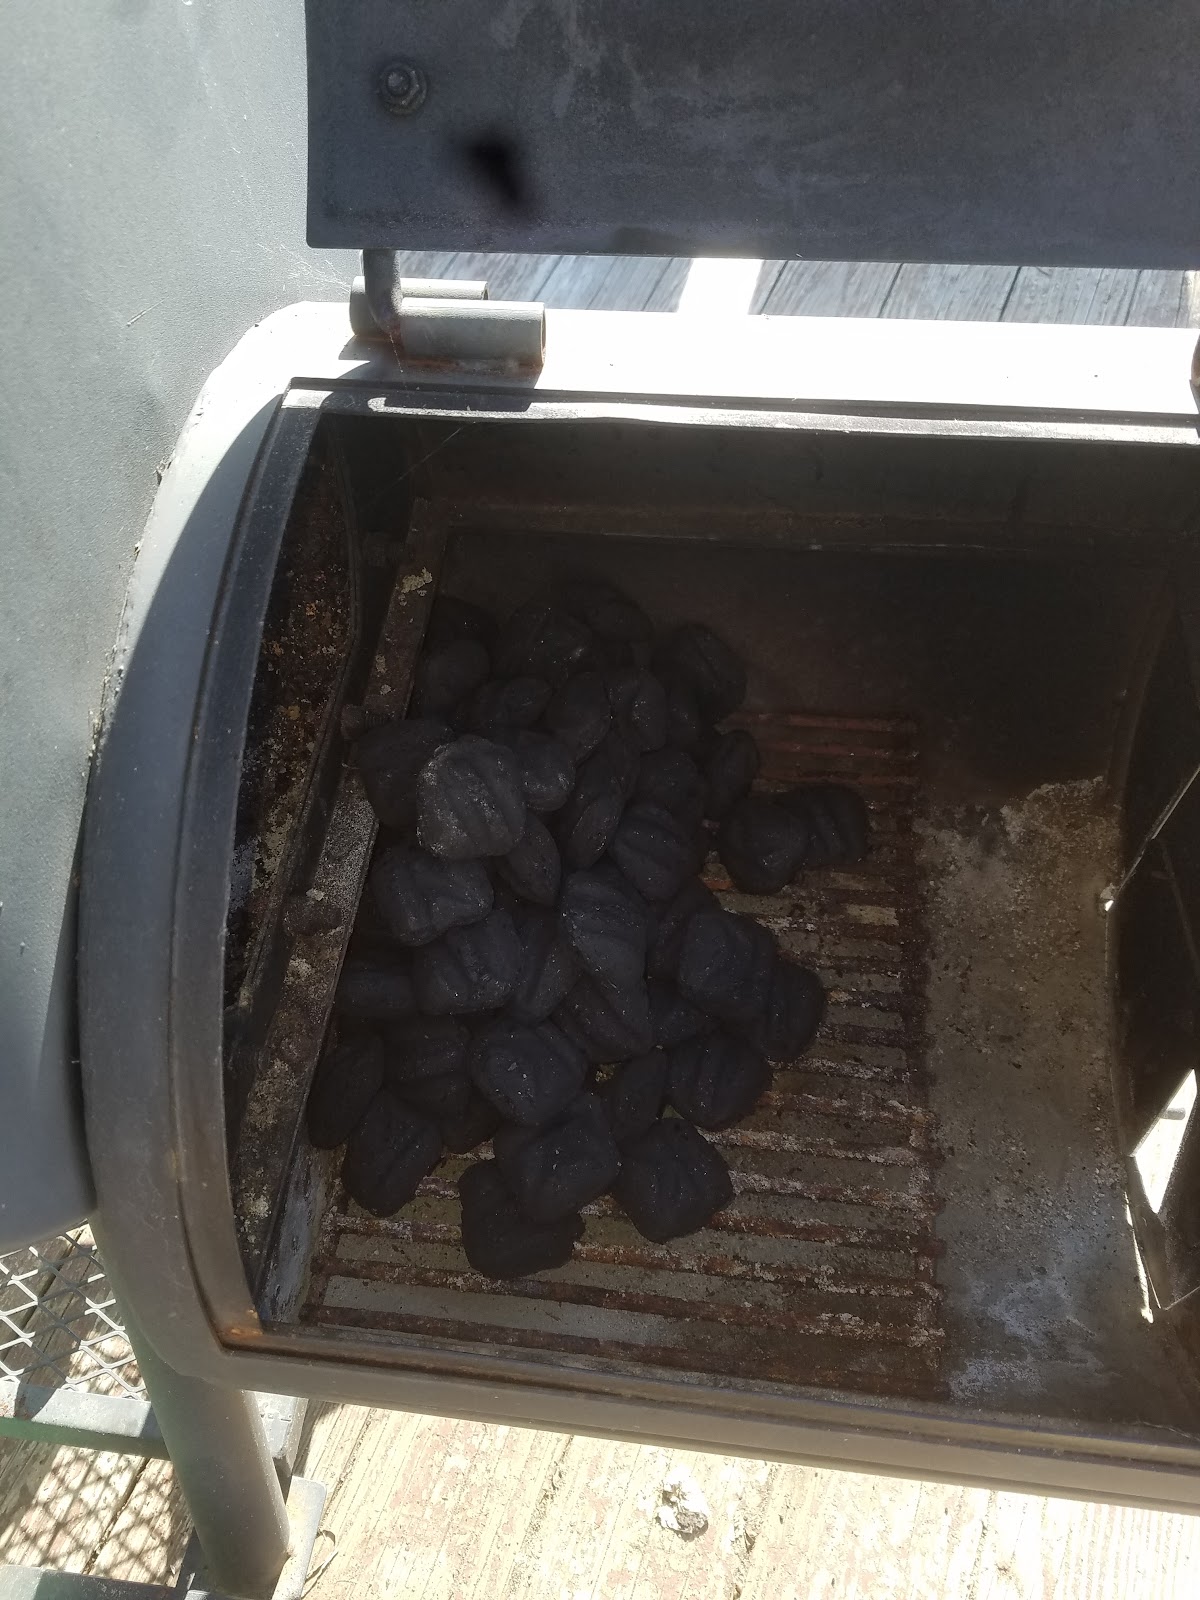
For my current barrel smoker, I always use charcoal for my heat source, but for this new smoker, our heat source will be electric.
The model that I will be building with my Outdoor Adventure Sports Management class, will make it much easier for us to keep it fed during our outdoor cooking experiments.

The cooking space will be approximately 10 cubic feet and will incorporate 6 cooking racks. The size and shape of this smoker will be perfect for a successful “hot” smoke process, which means maintaining a constant temperature between 210 and 240 degrees for several hours.
Tools Required
Skilsaw
Drill
Impact wrench
Hole saw 2”
Brad nailer
Bill of Materials
40’ of 2×4 material
80’ of 1×6 tongue and groove material
1 pound of 2” star head screws
½ pound of 1.5” star head screws
Hot plate 1100w
Racks 14.5”x20” (6)
Thermometer
Chip Pan (pie tin or chicken feed pan)
Drip pan (disposable aluminum)
3” stove pipe for Venting (8” length)
3” shanty cap
Building Process
Assemble The Sides of the Smoker
1. Build the 2×4 sides first. We made the whole unit 5 feet high, so that our smoker box is 42 inches and stands 18 inches from the ground (for a total of 60 inches).
That means our cross pieces are flush with the top and 17 inches from the ground. (Please note that these cross pieces are set with the 2-inch side to the uprights.)
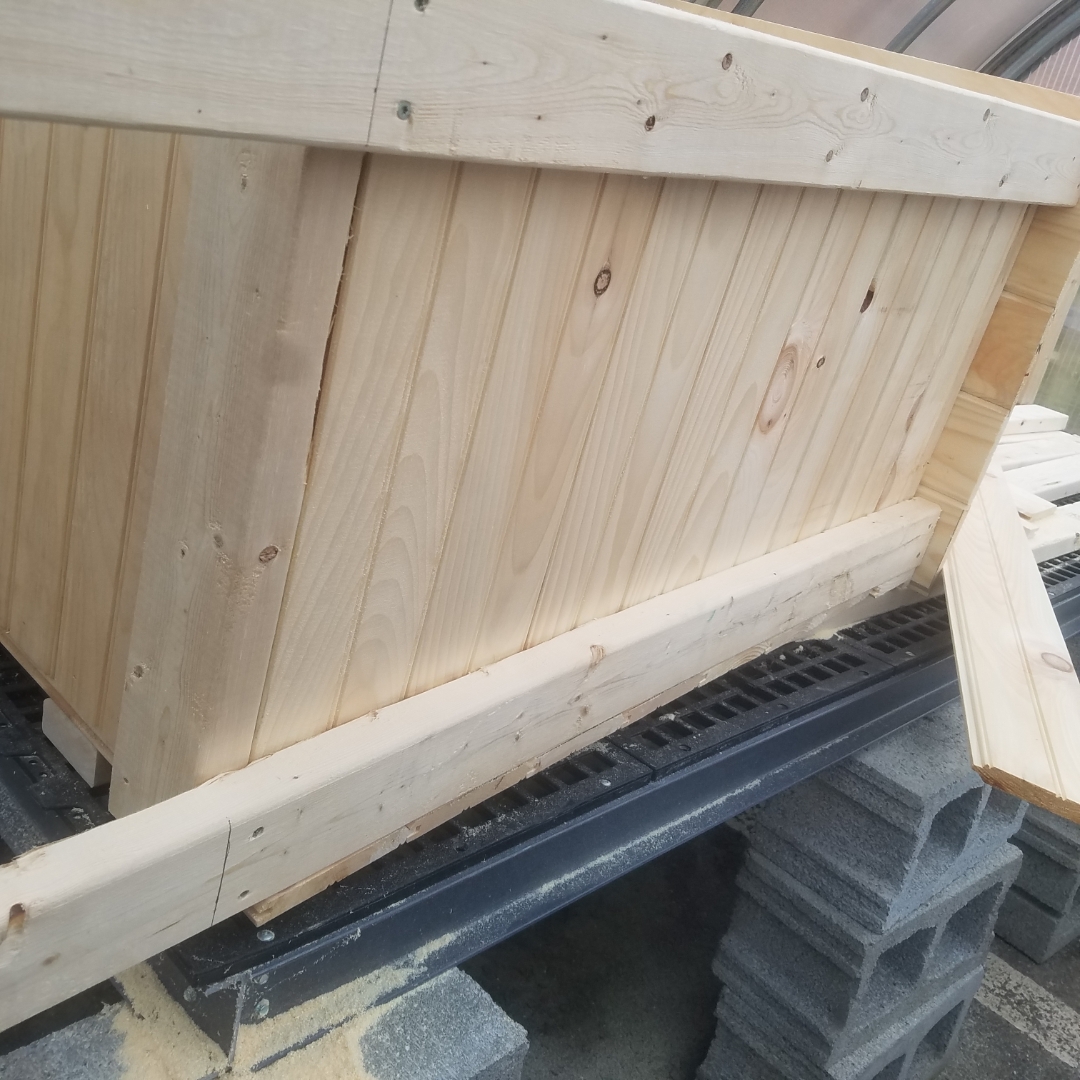
2. Cut your 1×6 tongue and groove to fit the inside of your smoker sides. Run from the bottom cross piece to the top. (see photo below)
3. Assemble both of your sides.
Secure the Sides Together
4. Position your sides so that there is 20 ½” between them. Begin to tie them together using 2×4 material at the top and bottom of both the front and back. All 4 of these tie pieces will be inside the box. The 2 top ties will be below the side cross pieces and the 2 bottom tie pieces will be above the lower side cross pieces. (see photo)

Finish the Sides and Bottom
5. Cover the back and bottom of your box with 1×6 tongue and groove, cut flush to the edges, no overhang. (see photo below) Use a brad nailer to secure the tongue and groove boards to the back and bottom of the smoker box.

Build the Roof
6. Stand your box upright and build your roof. We left about a 1-2 inch overhang all the way around for our roof. It was mainly an aesthetic decision, but you could argue that it will help move rain away from the sides of your smoker. (see photo)
Build the Smoker Door
7. Now at this point, you should have a three-sided box with 18-inch legs. Time to build your door. Measure inside to inside for the width of your door, and inside to inside for the length of your door. I believe that our door measurement was about 39.5 inches by 20 inches. Yours may be different.
8. We used 4 full pieces of 1×6 tongue and groove longways for our door. Then, we tied them together from the inside with 2×4 material. We then ripped the excess off of each side of the door losing the tongue on one side and the groove on the other. (see photo below)

9. We liked the look of the black hardware, so we added a matching handle. We could not find a black draw hasp so we had to settle for 2 zinc ones.

Build the Shelving
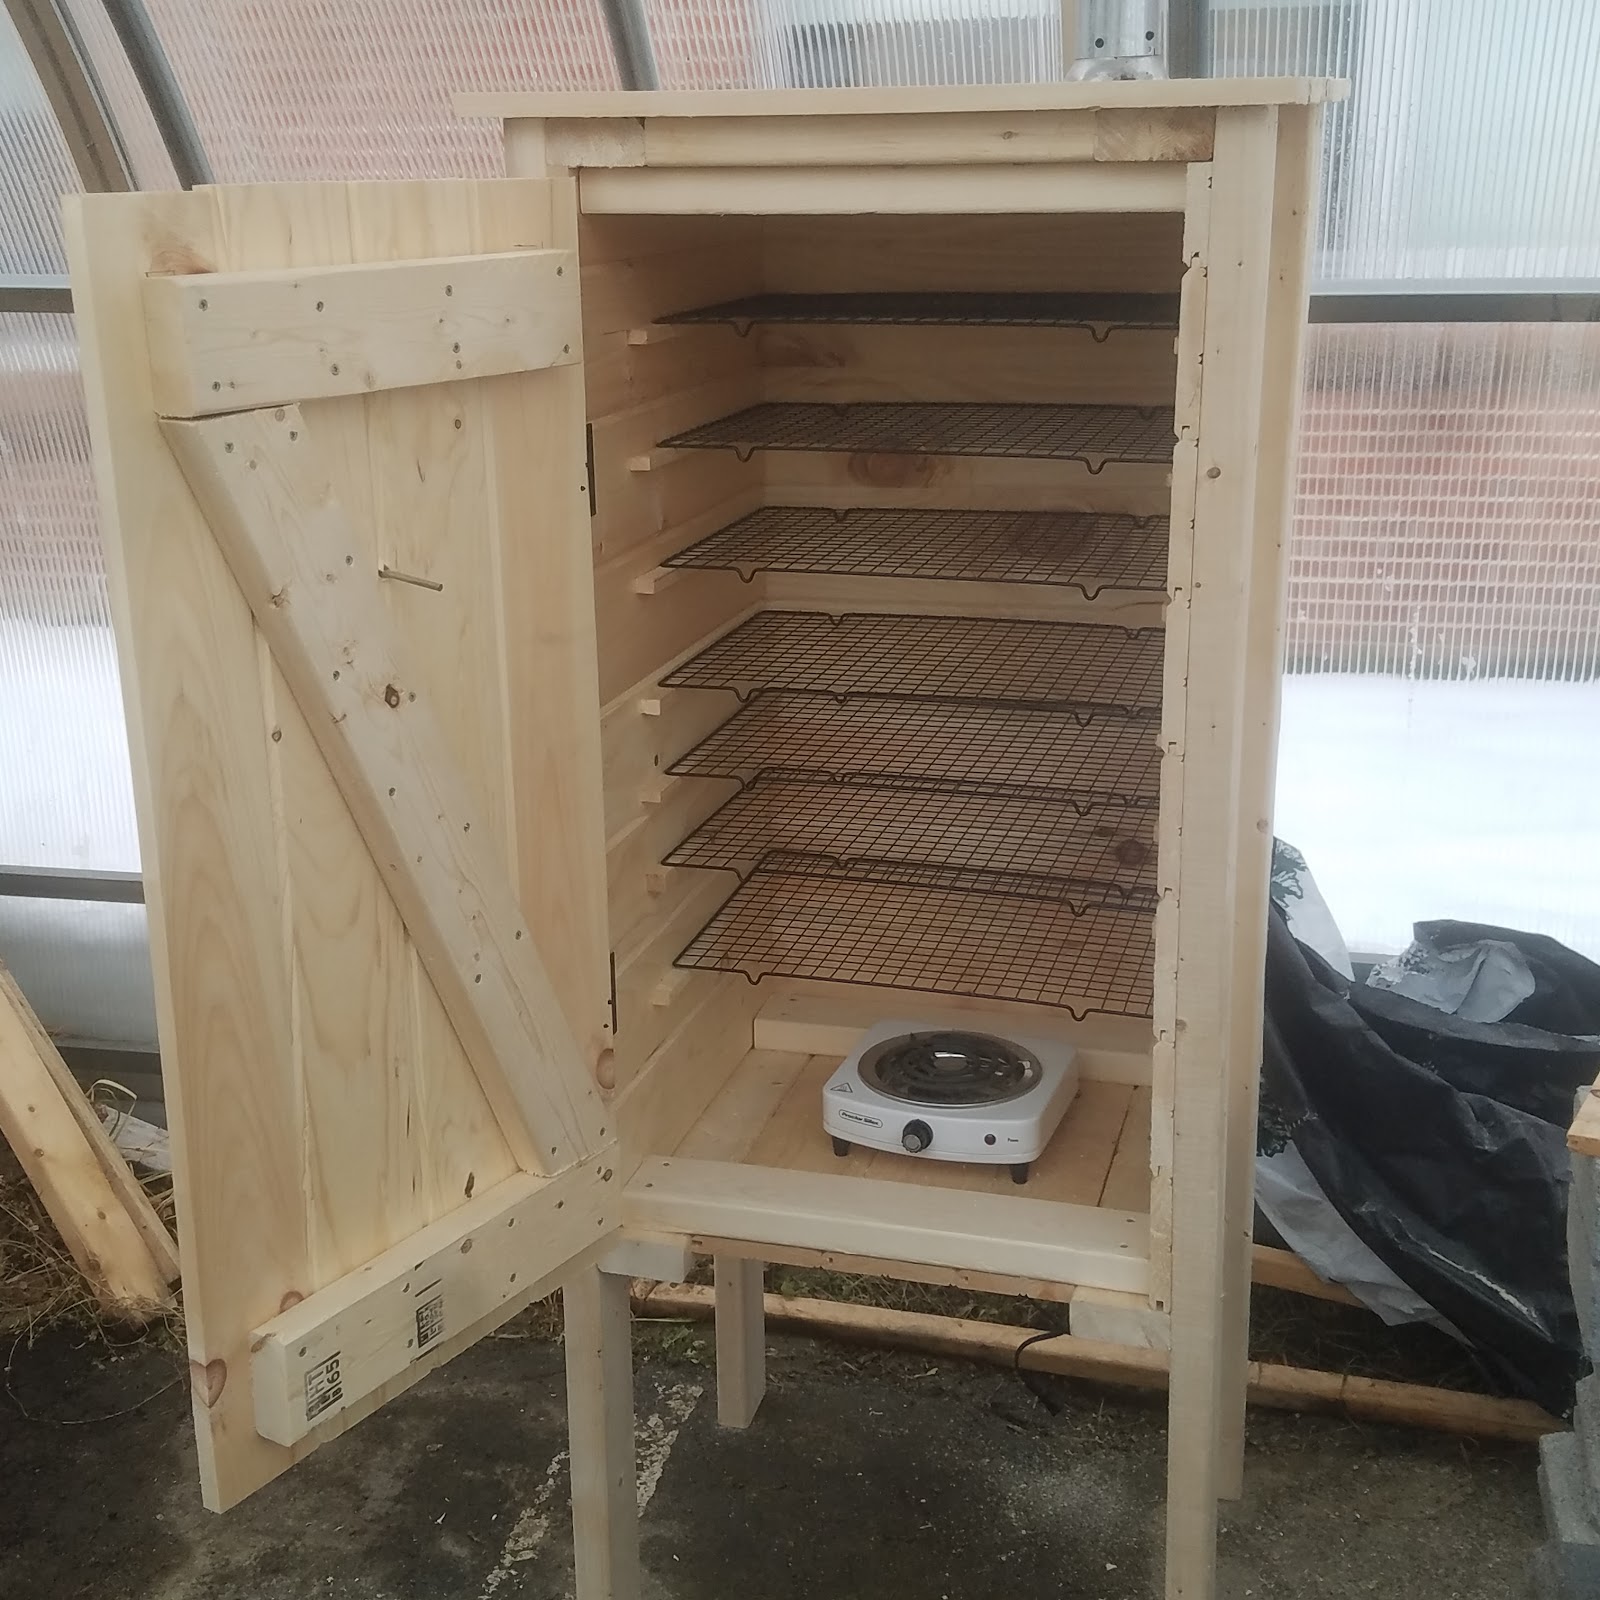
10. Time to build the shelving. For our design, went with 7 racks, the bottom one being used for a disposable drip pan for each use. We just ripped 1-inch strips from our waste 1×6 tongue and groove. We used a brad nailer to tie them in. (see photo)

11. The 14.5- inch by 20-inch wire racks that we used are simple and free-floating. They slide in and out easily.
Add the Hot Plate, Chimney, and Thermometer
12. We added our hot plate by drilling a cord hole through the floor.

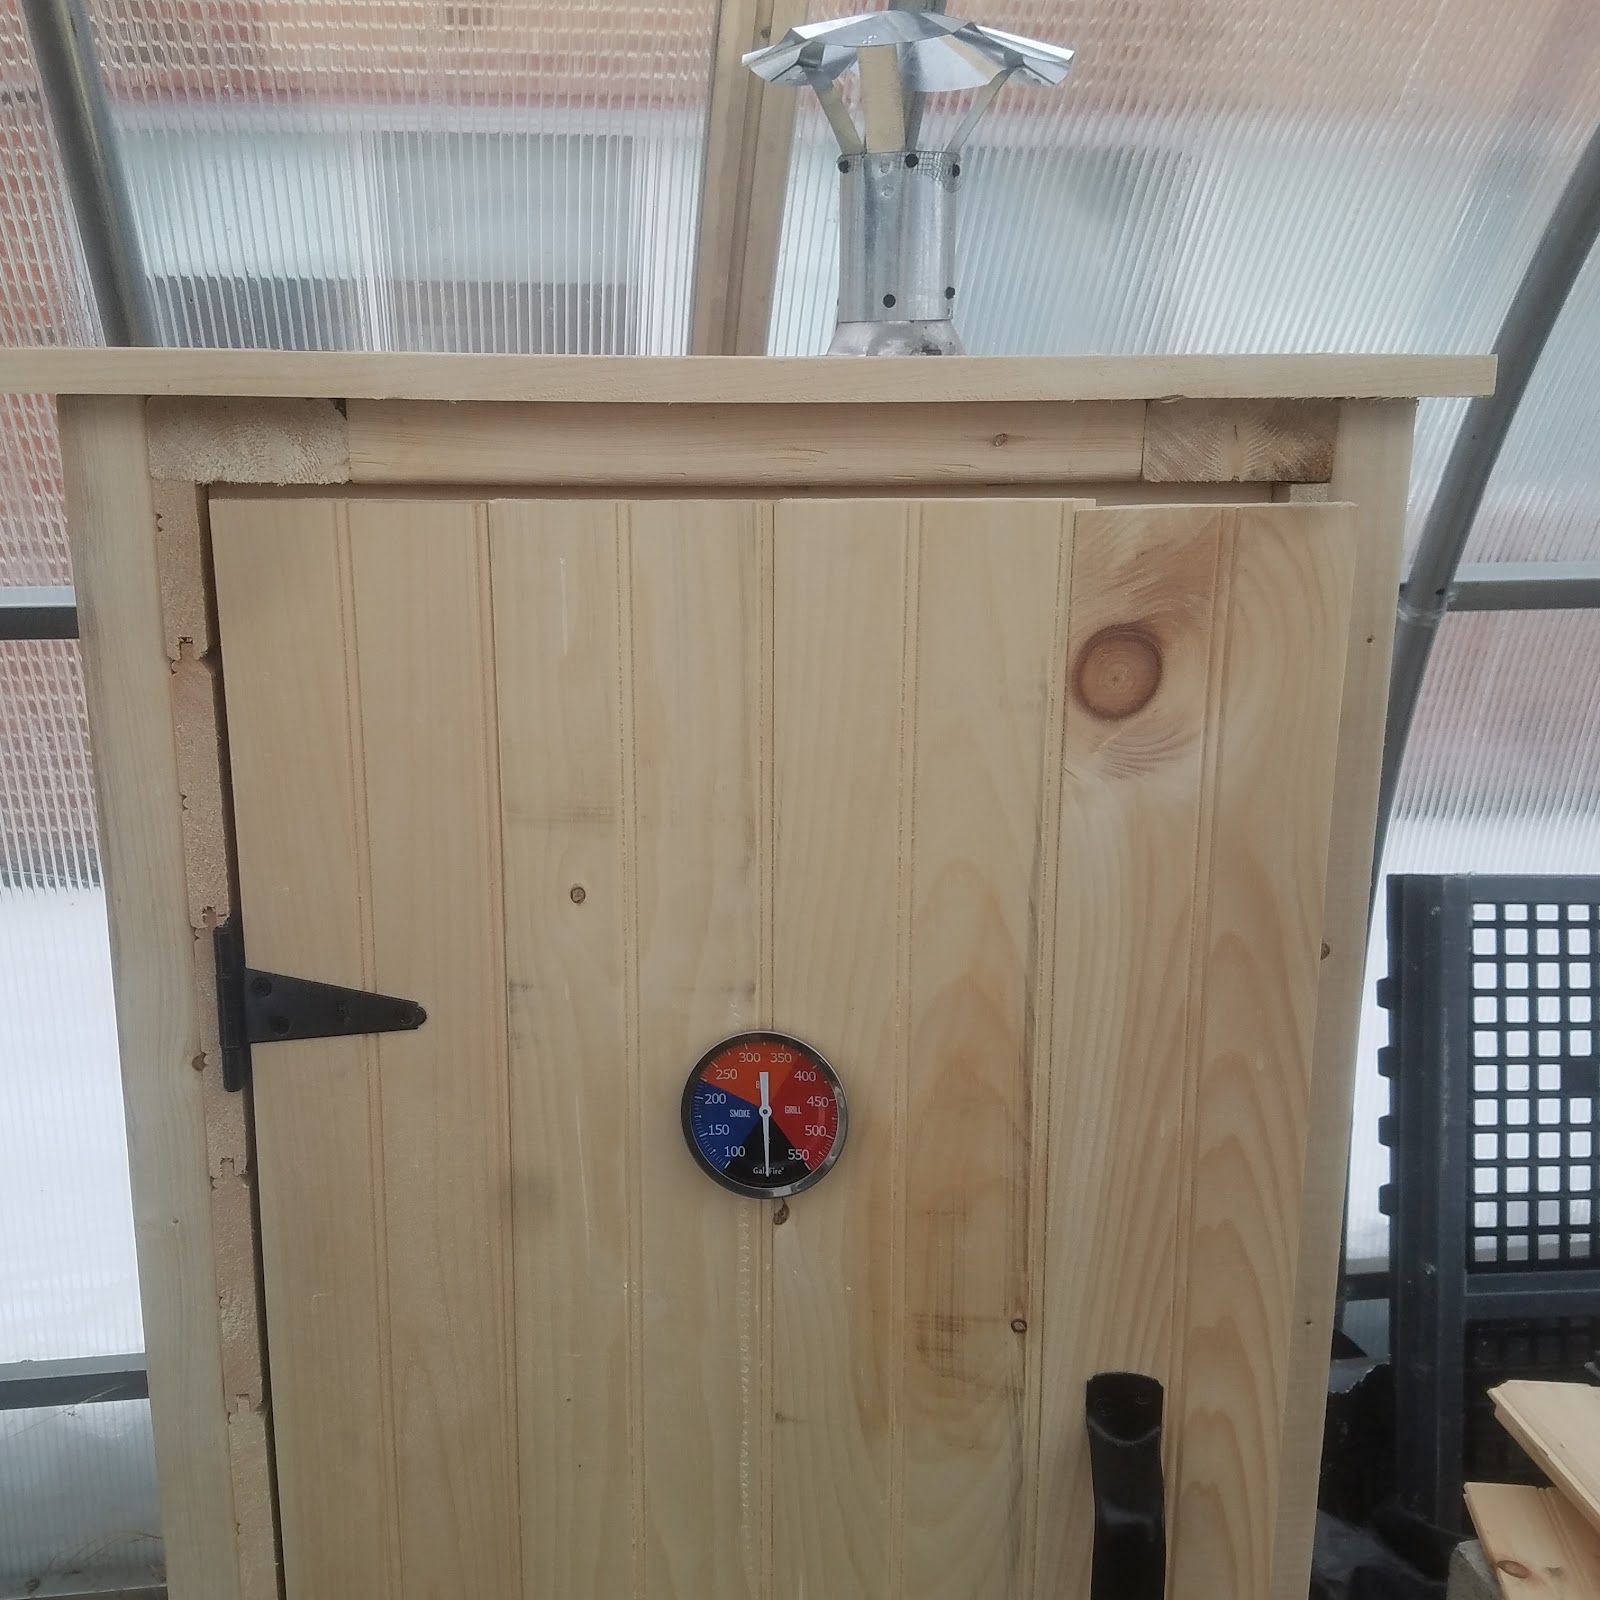
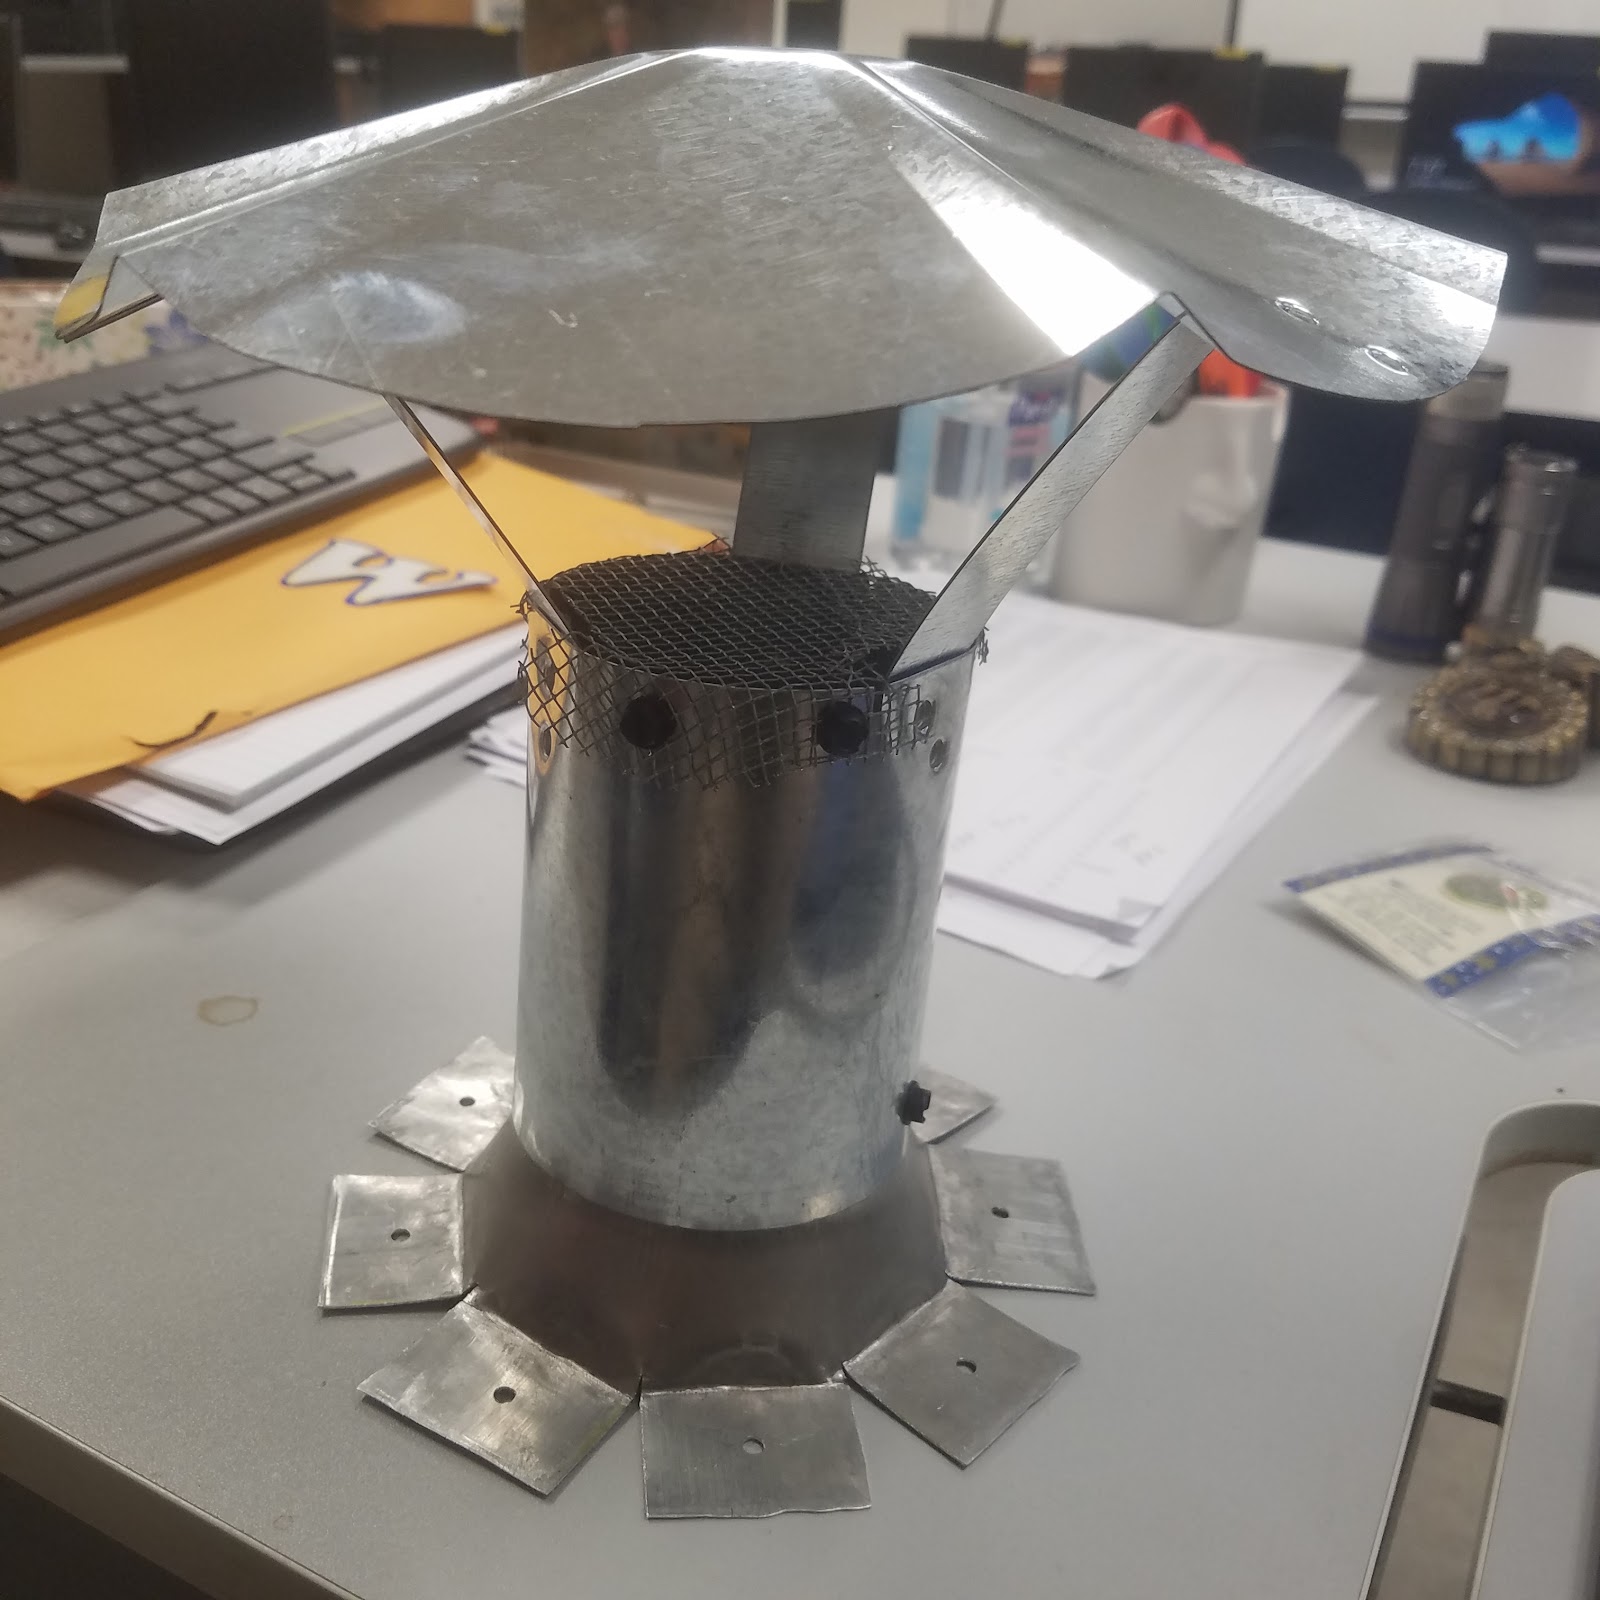
13. We then drilled a 2-inch hole in the top and built a small shanty flue to cover it. We used 3-inch stove pipe venting and a 3-inch shanty cap to make an 8-inch chimney (see photo)
14. Then, we drilled a 3/8-inch hole in the door and screwed in the round thermometer. (see photo)
Add Some Insulation
Finally, we tacked in some insulation around the door jam with a stapler to minimize the escape of heat and smoke. We just eye-balled the length and cut it to size with a box cutter.

Conclusion
Well, that’s pretty much all there is to it. It started with that simple design on the whiteboard, and we ended up with this!

My Outdoor Adventure Sports Management class did a great job with this project and should be proud of the finished product! We’ll provide updates once we fire our smoker up and test how it works.

No, this project isn’t going to impress NASA, but it will complete its mission. It will deliver delicious hot smoked foods to aliens that have never tried it. Thanks for spending some time with me. Watch for our updates and click below to claim your FREE MEAT SMOKING CHART!
Live Long and Prosper!
Love, Peace, and Light….
Terry
Thistle Downs Farm
About the Author

Terry has a Master’s Degree in Business Administration. He has taught in the New York State School system for 18 years, where he teaches Career and Financial Management, Agricultural Business, Marketing and Distribution, Sports Management, Wildlife Conservation Management, and Resort and Recreation Management. His time has also been spent as an FFA advisor for 12 years and he has been farming his 100-acre family farm since 1991. Terry has a deep love of all types of agriculture and takes every opportunity to promote agricultural education.